 widgemate
How to create Nova Post waybills from a Kommo lead
Nova Post waybills can be created right in a Kommo lead: the recipient, city and branch come from lead fields, and the parcel status moves the lead to the right stage by itself. Below is what you need and how to set it up.
What you need
- A Kommo account with admin rights – to install the widget.
- A Nova Post business account and an API key for each sender you ship from.
- For payment control – a contract with Nova Post for this service. Regular cash on delivery works without it.
Step 1. Get the Nova Post API key
In your Nova Post account open Settings – Security and create an API key. With several senders, each needs its own key.
Step 2. Install the widget and add the accounts
Install the Nova Post widget from the Kommo marketplace with the button on the widget page and allow access. Open the widget page (Settings – Integrations – Nova Post) and add each sender's account by its key. For each account choose the dispatch point – the branch you ship from.
Step 3. Choose the lead fields
Set the lead fields that hold the recipient's city and branch, and the field for the waybill number. The recipient's name and phone come from the lead's contact. If needed, add fields for the refusal reason and the return and redirect waybills – the widget fills them in itself.
With several senders, set the lead field whose value picks the sender – for example, "Shop". Each waybill then goes from the right sender with no manual choice.
Step 4. Create the first waybill
Open a lead and create a waybill in the card. The recipient, city and branch are already filled in, and the Nova Post directory suggests the city and branch. The delivery cost and arrival date are shown before you create it. The waybill number goes into the lead field.
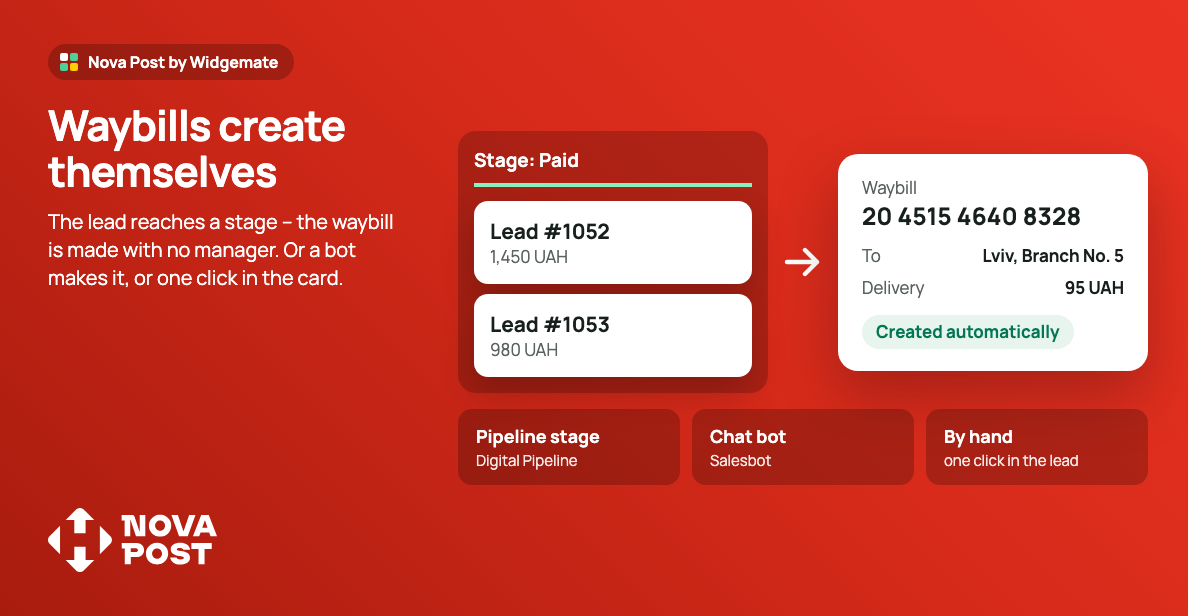
Step 5. Automation: waybills with no manager
To make waybills by themselves, add the widget action to a pipeline stage in Digital Pipeline – for example, "Paid". The lead reaches the stage and the waybill appears with no manager. A Salesbot step does the same.
Step 6. Parcel statuses move the lead
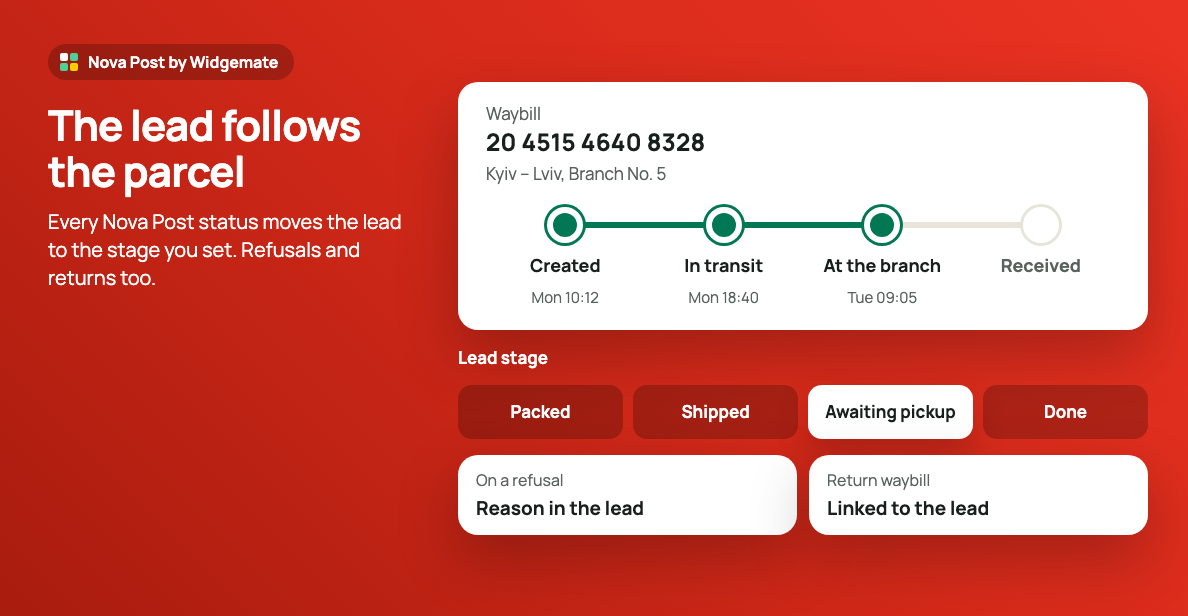
On the widget page match Nova Post statuses to the stages of each pipeline: at the branch, received, refused, returned. When the status changes, the lead moves to your stage. You can also set what happens when a parcel waits at the branch for some days – for example, a task for the manager.
Many parcels at once
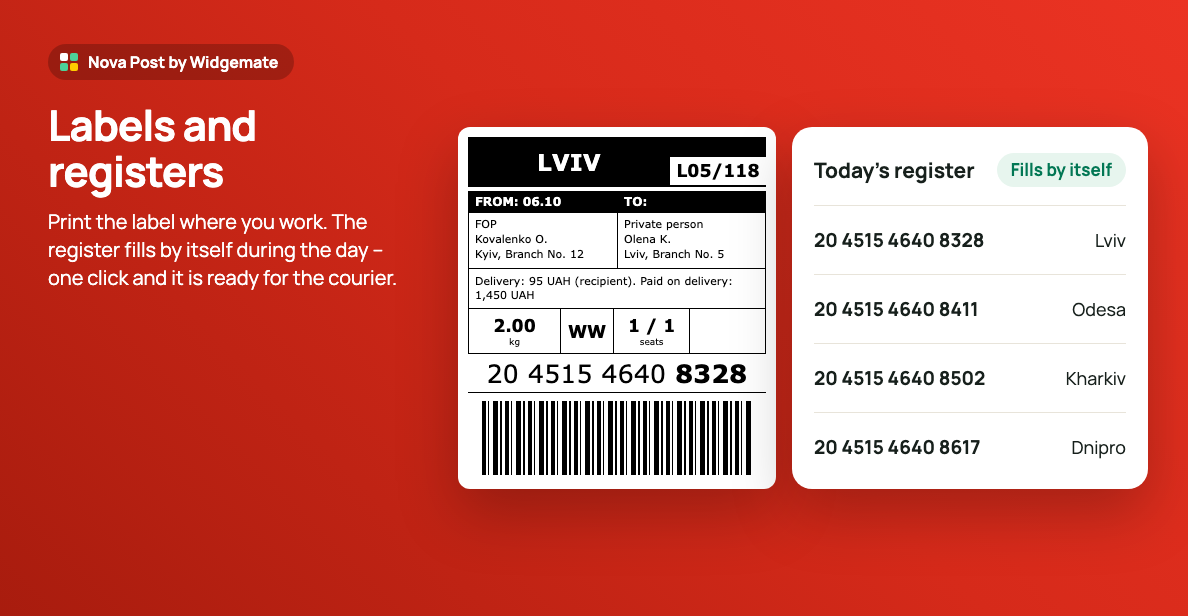
In the lead list tick the leads and open the Nova Post menu: create waybills, print labels, add to the register or update statuses. The courier register fills up during the day and is formed in one click.
If something goes wrong
- A wrong waybill. Unlink it from the lead or delete it – in Nova Post too, while the parcel is not handed over. Then create a new one.
- The API key expires. The widget warns you in its notifications; a new key of the same sender replaces the old one and parcels keep being tracked.
- Moving from another widget. Point to the field where the old widget wrote waybill numbers – the widget picks up those parcels and keeps tracking them.
The widget for this
Updated 16 November 2026